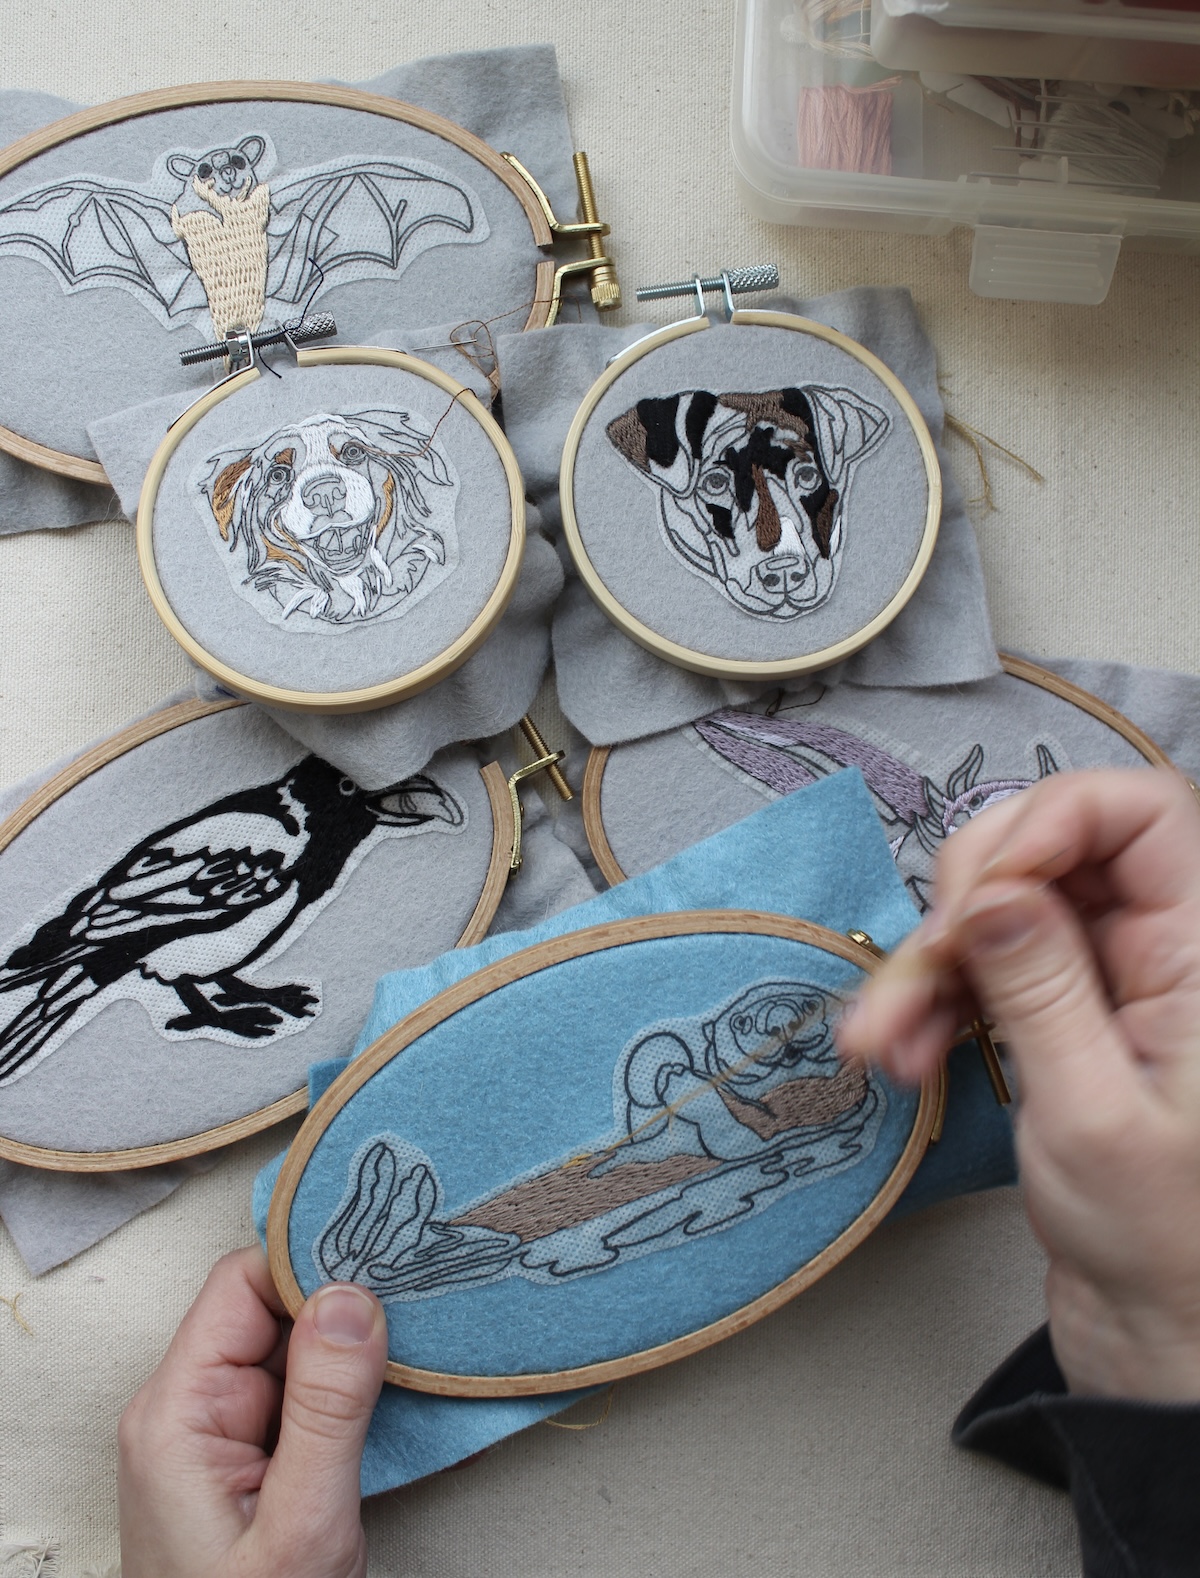
One thing I learned early on in my embroidery journey is that I loathe pattern transfer. It’s fun to draw and plan my designs, but getting them onto the fabric is such a pain. When I first began stitching, I’d draw all my designs in my sketchbook and refine them on tracing paper. Once I was happy, I used an old lightbox to transfer them onto my fabric with a ballpoint pen.
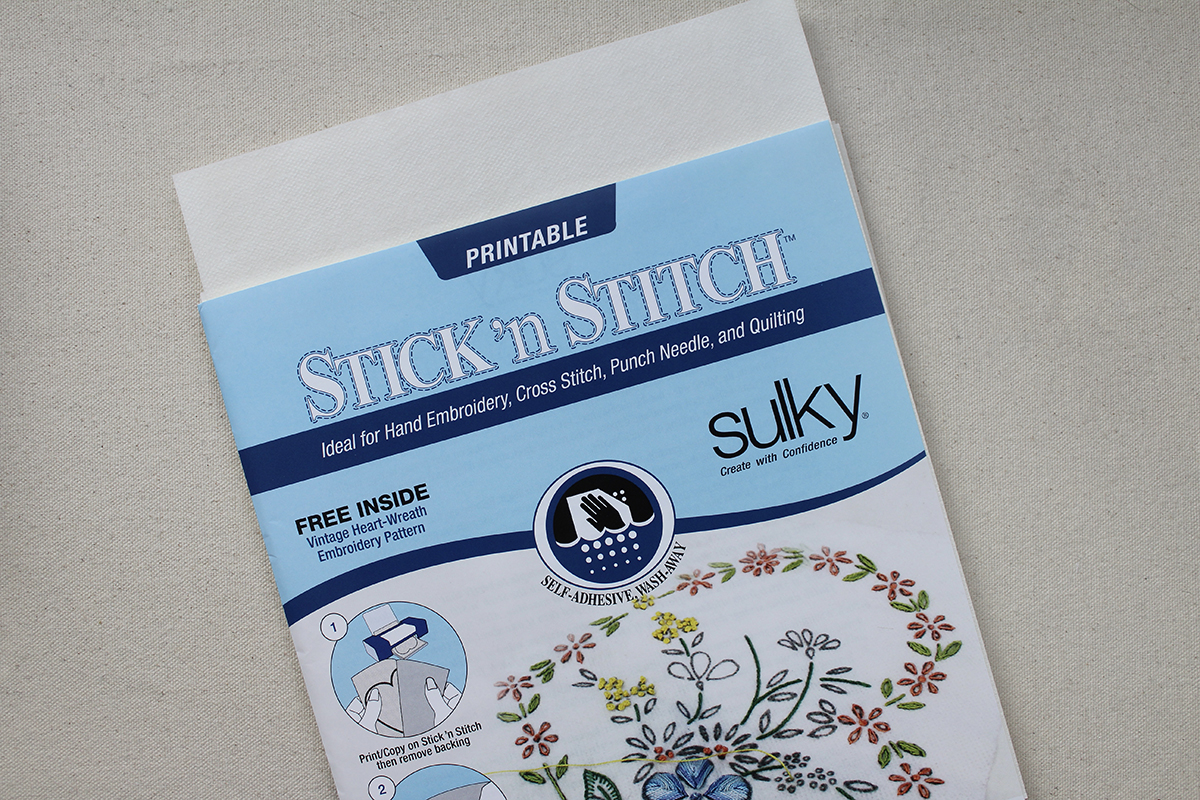
I did that until I took on custom work. Once I started stitching people’s pets, my current workflow just wasn’t going to cut it. I saw that people were using transfer paper to print designs and stick them on fabric. A little digging revealed Sulky brand Stick N Stitch stabilizer, and I never looked back. I bought the cheapest, best printer I could find and now print all of my designs.
How to transfer an embroidery pattern using Sulky Stick N’ Stitch Stabilizer
- Digitize your pattern. If you’ve purchased a PDF pattern, you’ve got the first step completed for you. Otherwise, scan or trace your design digitally using a stylus (like an Apple Pencil) or Wacom tablet.
- Remove one sheet of stabilizer from the Stick N’ Stitch pack and place it in your printer. I have the best luck when I use the manual tray.
- Make sure you’ve optimized your print settings. Again, I have the best luck when I select “label” as my paper type, 1200 DPI, and feed from the manual tray. I do not scale to fit my designs to the paper, so that way they aren’t resized smaller than I originally intended.
- Once printed, cut out your design.
- Peel the backing off and press your design to the fabric.
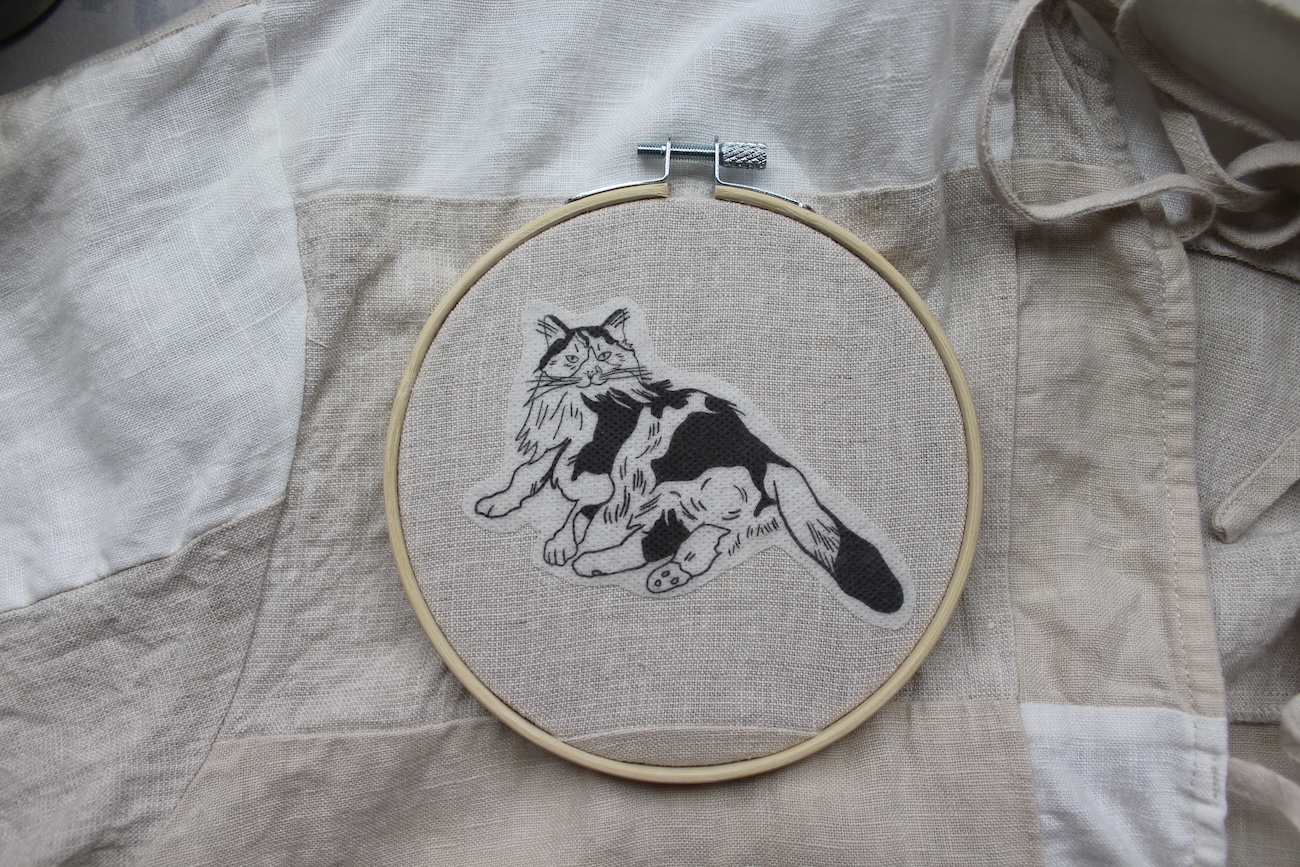
How to stitch using Sulky Stick N’ Stitch Stabilizer
This part is easy—you simply stitch your pattern like normal! Thread will cover the stabilizer. Depending on the type of fabric you’re using, you might notice the needle feels slightly sticky. While that doesn’t happen a lot (in my experience), it eventually goes away.
How to remove Sulky Stick N’ Stitch Stabilizer
- Remove your completed embroidery from its hoop, if using.
- Turn on the warm or hot water. I always place my embroidery directly under the water, but some people prefer soaking the embroidery in a bowl. If you’re going to do that, let it sit for five minutes or so.
- You’ll see the stabilizer start to curl and dissolve as soon as it gets wet. Use your finger or a Q-tip to remove any stubborn stabilizer. This part is important—you want to avoid leaving any stabilizer on the fabric.
- Once the stabilizer is gone, blot your embroidery on a towel. Let dry.